
This guide walks you through mounting the pickup in the soundhole of an acoustic guitar.
-
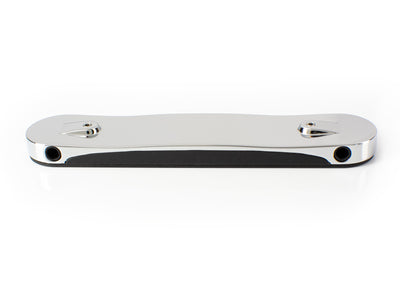
Removing the Base Plate
Begin by removing the base plate using the provided Allen key. Loosen each screw one turn, alternating between screws. Avoid loosening one screw too much before switching to the other. Continue making anticlockwise turns on alternate screws until the base plate is removable. -
Replacing the Adjustment Screws
Once the base plate is off, remove the existing shorter (8 mm) adjustment screws by turning them anticlockwise with the Allen key. Replace them with slightly longer (12 mm) screws. -
Inserting the Height Adjustment Screws
With the pickup upside down, insert the longer height adjustment screws (hex end first) into the holes. Although it may seem counterintuitive, turn the screws anticlockwise two or three times until they catch and stay in place. Repeat this process on the opposite side. -
Applying the Neoprene Foam Pads
Peel the D-shaped neoprene foam pads and stick them onto the base of the pickup—one at each end. -
Reattaching the Base Plate
Reattach the base plate using a few twists of the Allen key, ensuring it’s ready to be mounted in the soundhole. -
Mounting the Pickup
Typically, the output jack sockets should face the guitar's neck. This positioning keeps the cables out of your way while strumming and makes the switches easier to access. However, feel free to adjust this depending on your playing style. If you prefer, you can mount the pickup the other way or install multiple pickups in the soundhole. -
Tightening the Screws
Tighten the screws securely, but note that the foam pads will compress slightly. Ensure the pickup is not buzzing against the strings but also not too far away, as this may reduce output and increase crosstalk. The ideal distance between the pickup and strings is between 3 and 7 mm. -
Connecting the Cables
Plug in your cables. If you're using one or two adapter cables (or with the SubSix, the two triple-tail cables), make sure they are secured to the guitar or guitar strap. -
Optional Permanent Installation
For a more permanent setup, you can use the endpin connector cable. The right-angled connector allows the cable to slip neatly through the space between the pickup and the soundhole. For further details on installation options, please refer to the website.
